Make your own Caltrain bike destination tags using our template and a name badge holder (use the kind of name badge that clips on and where you slide your tag in from the top).
- Open the Word document. Cut and paste to readjust station name order if necessary so that your home station is on the 3rd page or at least a separate page (swapping with “Sunnyvale” or adding “Gilroy” if necessary).
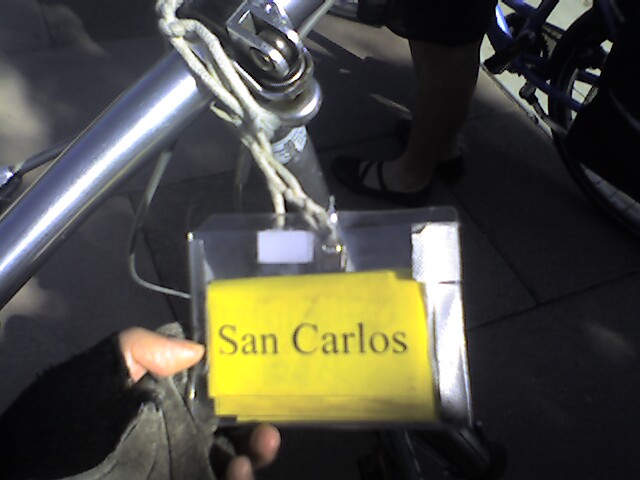
- Print the document on bright yellow paper. If you’re using the full template with nearly all the stations, print pages 1 & 2 double-sided on the same paper and page 3 on a separate sheet.
- Trim edges of paper with scissors, then fold papers along the black lines and insert into name badge holder. Hang badge holder from your bike with string or ribbon (thread it through the hole in rivet that secures the clip to the name badge).
TIPS:
- Name badge holders come in different sizes. If your name badge holder is a smaller size, you may find that you need to resize the columns, rows, and fonts in the template to be somewhat smaller so that your final folded product will fit inside the holder. (If you’re making one that has just about every single station as on the template here, you’ll need to do this uniformly so that it will fold properly on both sides when printed double-sided).
- Adding a little bit of stick-on velcro closure (available at hardware and craft stores) to the top inside edge of the badge holder will help keep it closed and prevent the yellow tags from falling out.
- If you’re travelling between two stations where neither station is your usual home station, then you need to pull out the piece of paper for your home station and turn it inside out so that it displays a blank side, otherwise you may confuse people into thinking that you’re planning to get off at your home station.
Get template